Distortion mode
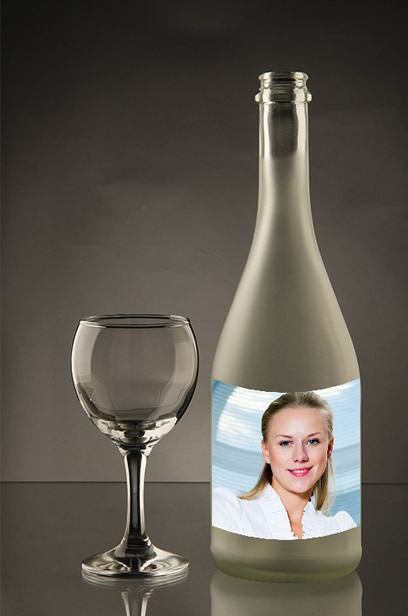
Let's consider an example of distorting a user photo. Here is a semi-finished draft of a template with a bottle and a wine glass (the draft can be downloaded here).
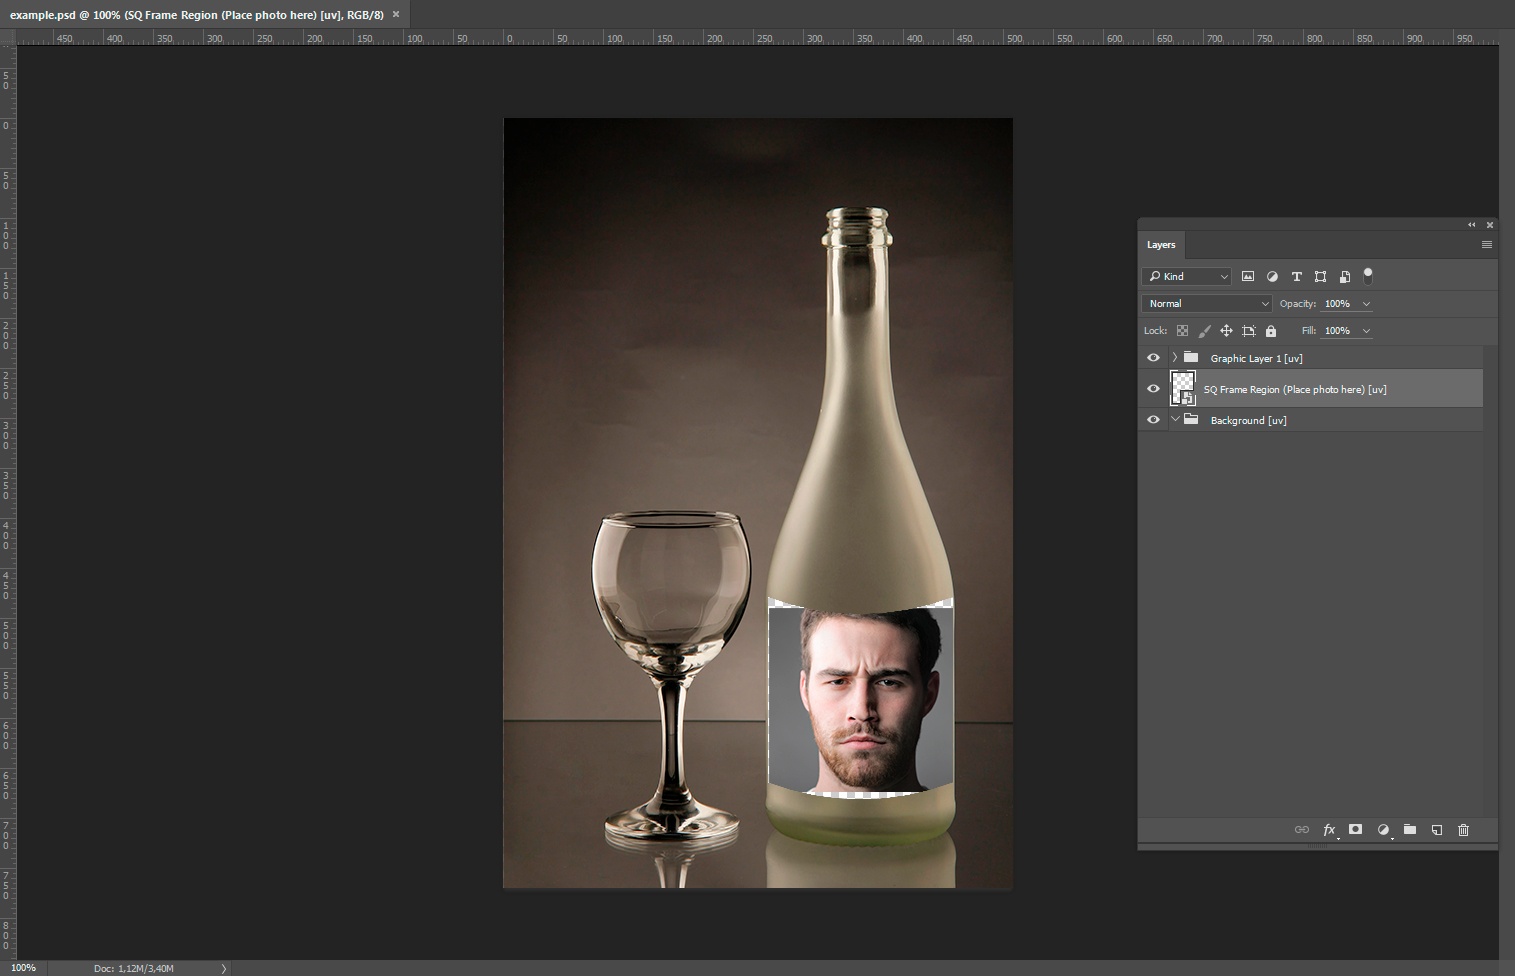
The template would look much better if the user photo followed the shape of the bottle, taking into account its geometry and volume. This idea can be implemented with the help of user photo distortion mode.
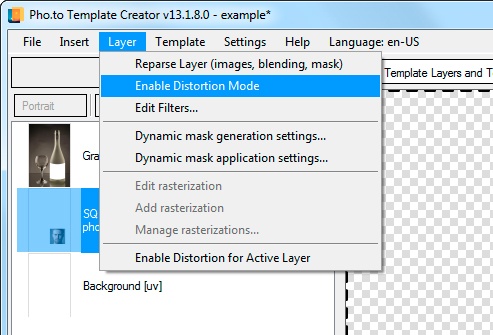
Reparse the PSD document. Next, go to the Layer menu in the Template Creator and select Enable Distortion Mode.
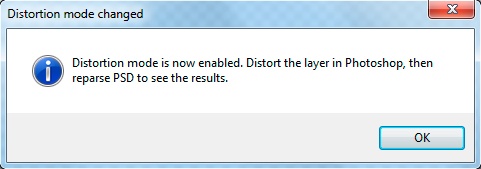
If you did everything right, you will see a message saying that the distortion mode has been activated successfully.
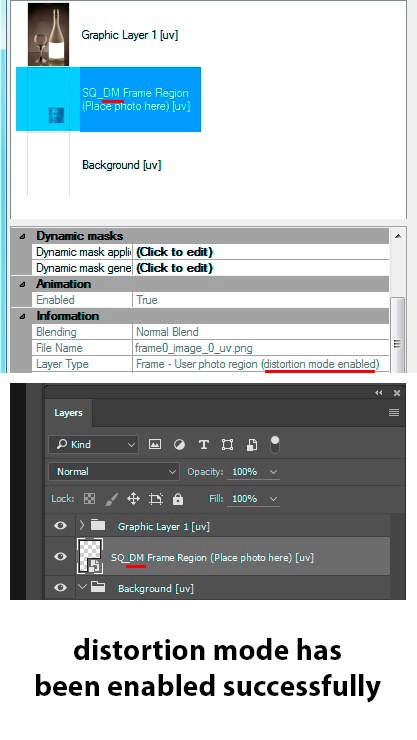
The user photo region will be automatically renamed (the DM_ prefix will be added after the SQ_ prefix). This will be visible both in Photoshop and in the Template Creator after you have reparsed the PSD document.
From now on, you can perform manipulations with the smart object of the user photo area in Photoshop with the help of warp tools, puppet warp and/or filters causing pixel shift.
Go to Photoshop and distort the smart object of the user photo region using the distortion tool. To do so, highlight the layer containing the smart object of the user photo region, then go to the Edit menu and select Transform → Distort.
Warp the smart object so that it followed the shape of the bottle, as shown in the picture below.
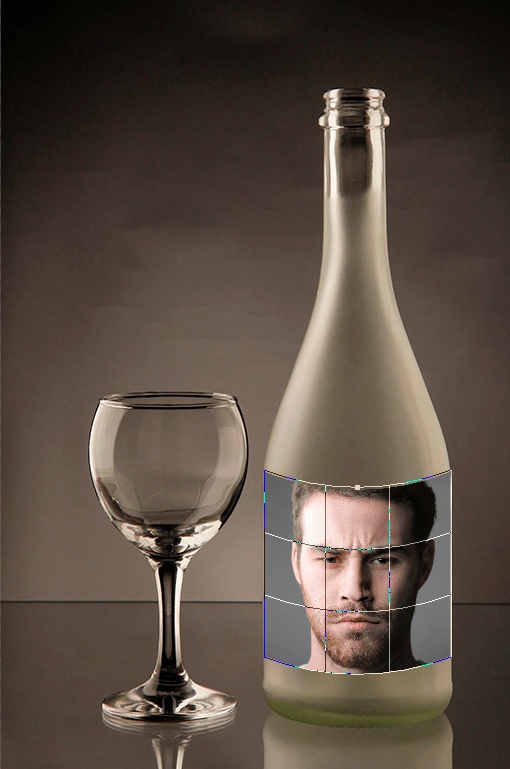
There are several warp options available in Photoshop, you can choose the one that suits the current purposes best and then modify it for your needs. The Arch option is exactly what we need in our case.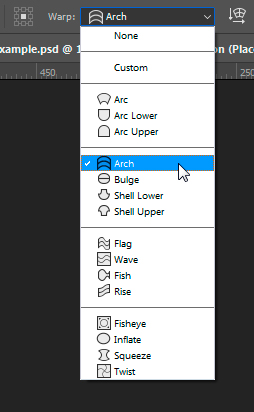
Use the Enter button to apply the changes.
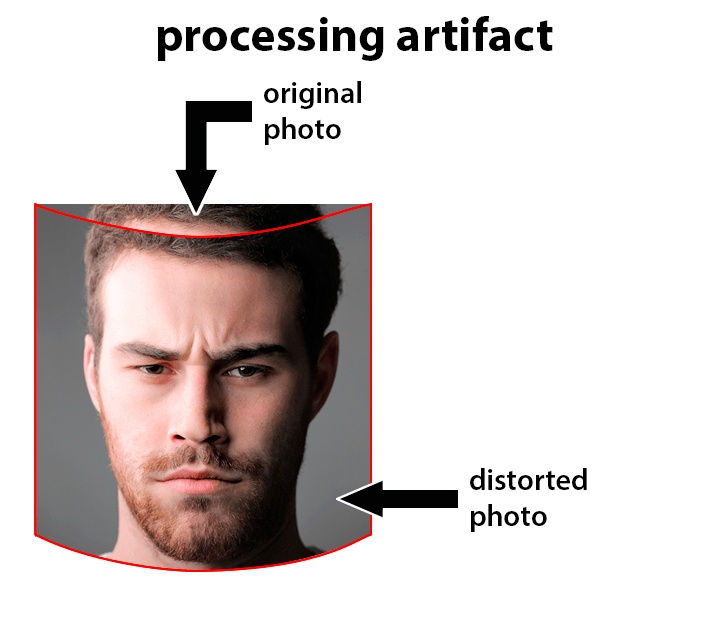
Next, mask the user photo region taking into account its modified shape. The point is that the modified image in the Template Creator is superimposed over the original one (the one that has not been warped). In some cases, when a user photo in the template is not overlapped by graphic layers taking into account its modified shape, an artifact similar to the one shown below will be visible.
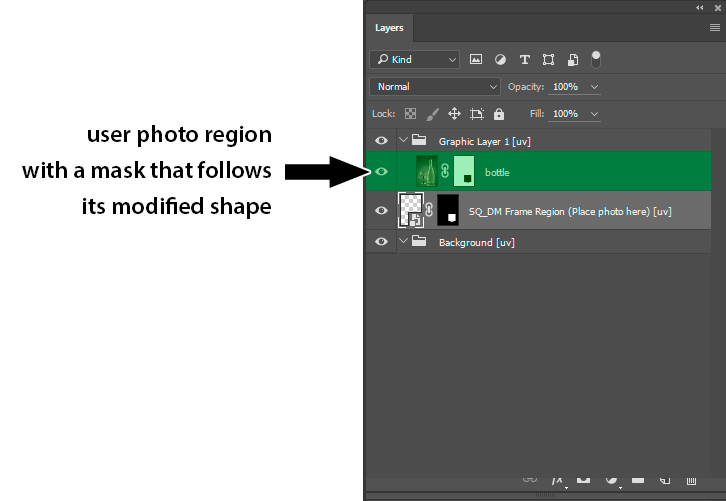
To mask a user photo region easily, click its layer while holding the Ctrl key, then apply a mask.
Go to the Template Creator and reparse the PSD document. Process several test photos. You are going to get a result similar to that created in Photoshop.
Note that if a user photo region has the distortion mode enabled for it, it is important to set the proper size for the canvas of the smart object that defines the user photo region. Depending on the desired user photo orientation, it is recommended to select the canvas size of the smart object in such a way as to ensure the following aspect ratios:
- 4/3 (1.33) for the landscape orientation;
- 1 for the square orientation;
- 3/4 (0.75) for the portrait orientation.
You should set the canvas size of the smart object of the user photo region before you start distorting the smart object.
For the sake of experiment, you can add a smart filter to the distorted area. Note that the filters in Photoshop can be roughly divided into two types: those that change pixels color and those that cause pixel shift.
If the distortion mode is enabled, you can only use filters that cause pixel shift. So, you can use Distort filters (go to the Filter menu → select Distort), as well as other filters by way of experiment. Below is the list of filters that provide suitable distortion results:
- liquify;
- distort: wave;
- distort: pinch;
- distort: ZigZag;
- distort: shear;
- distort: polar coordinates;
- distort: ripple;
- distort: twirl;
- distort: displace;
- distort: spherize.
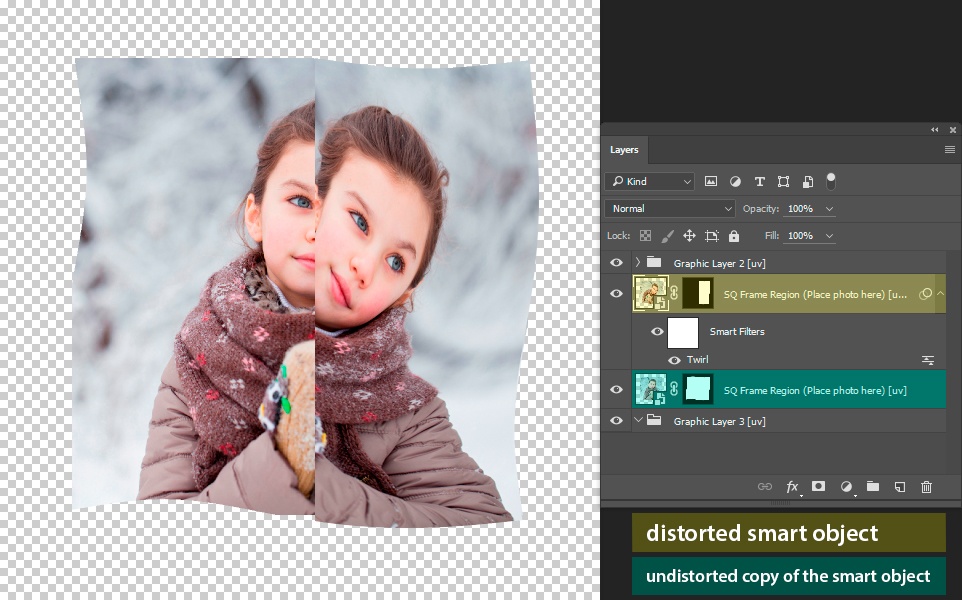
Smart masks cannot be used with smart filters. If you need to achieve a visual result similar to what you can get using a smart mask with a smart filter, make an undistorted copy of the smart object and achieve the desired effect with the help of usual masks.
It should be noted that smart filters can be copied from one layer to another (and even from one document to another).
In the Layers panel, drag a smart filter from one smart object to another, or to a new position in the smart filters list with the ALT key pressed. To copy a smart filter to another document, just drag it into the desired document tab. Learn more about using smart masks here.